

Limited Time: Claim Bonus Offer!
We provide everything you need to install custom-sized exterior RV skirting.


Need help? Our Kit Builder walks you through this part step by step.
Choose your options to get exactly what you want: Size, colors, snaps, & extra support.
Experience a fast, efficient installation with our video guides & install tips.

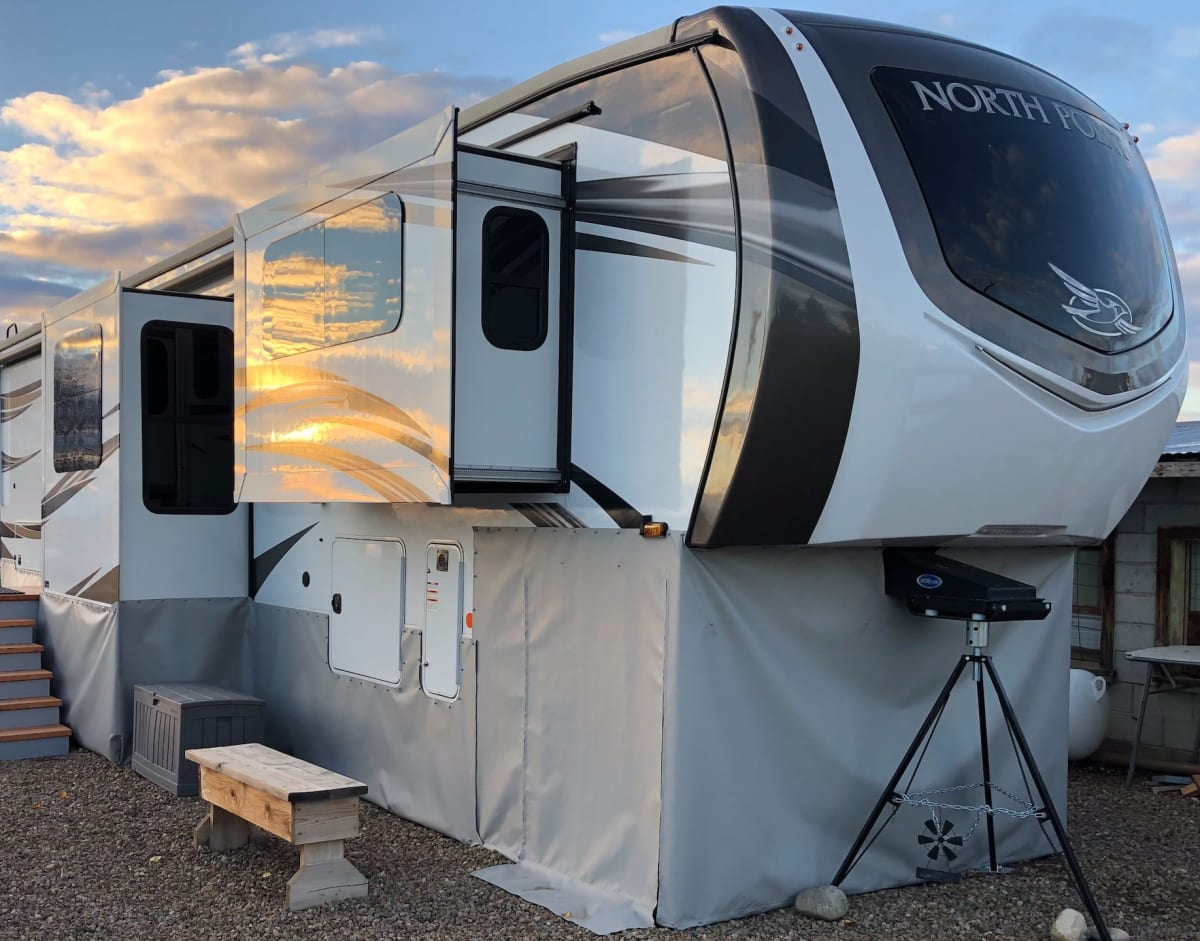
Diamond-Weave™ skirting material is extremely strong, lightweight for storage, and features a -40 Cold Weather rating.
Works best for all RV shapes and sizes.
Patented EZ "No-Drill" system features 3M™ super holding VHB adhesive in extreme hot or cold temperatures.
Our customers are typically quoted $2,500 to $5,000 from upholstery professionals, which is significantly more expensive than our higher-performing kits using Diamond-Weave™ fabric technology.
Diamond-Weave™ skirting material is extremely strong, lightweight for storage, and features a -40 Cold Weather rating.
Works best for all RV shapes and sizes.
Patented EZ "No-Drill" system features 3M™ super holding VHB adhesive in extreme hot or cold temperatures.


Use our free Kit Builder! Results will include the following:
Financing available with:
EZ Snap® provides everything you need to install skirting kits on all shape and size RVs.
Example Kit for a Travel Trailer:

Starting at
$1,100
$840
23% Off

70 Feet of EZ Snap® Premium RV Skirting

89 Snap Fasteners

FREE Gecko Velcro™ for one access point

FREE Removal Tool

Optional Add-On: Pipe Clamp System
Swipe
Pricing varies by kit size & options
EZ Snap skirting is the perfect solution compared to alternative upholstery and dealer options available on the market.
We recommend working with a partner, but many of our customers choose to install EZ Snap solo with just as much ease!
 Step 1
Place the studs on your RV in the areas where you wish to install the RV skirting. Next place the EZ Snap® pins onto the studs.
 Step 2
EZ Snap skirting is the perfect solution compared to other options available on the market.
 Step 3
Place the skirting fabric over the pins, puncturing through the fabric with the pins and taking out any wrinkles as you move along.
 Step 4
When you are happy with the fabric positioning, press on the EZ Snap® caps.
 Step 5
Secure your RV Skirting from the wind by installing the RV pipe clamp system around the base with standard PVC 3/4" (I.D.) irrigation pipe.
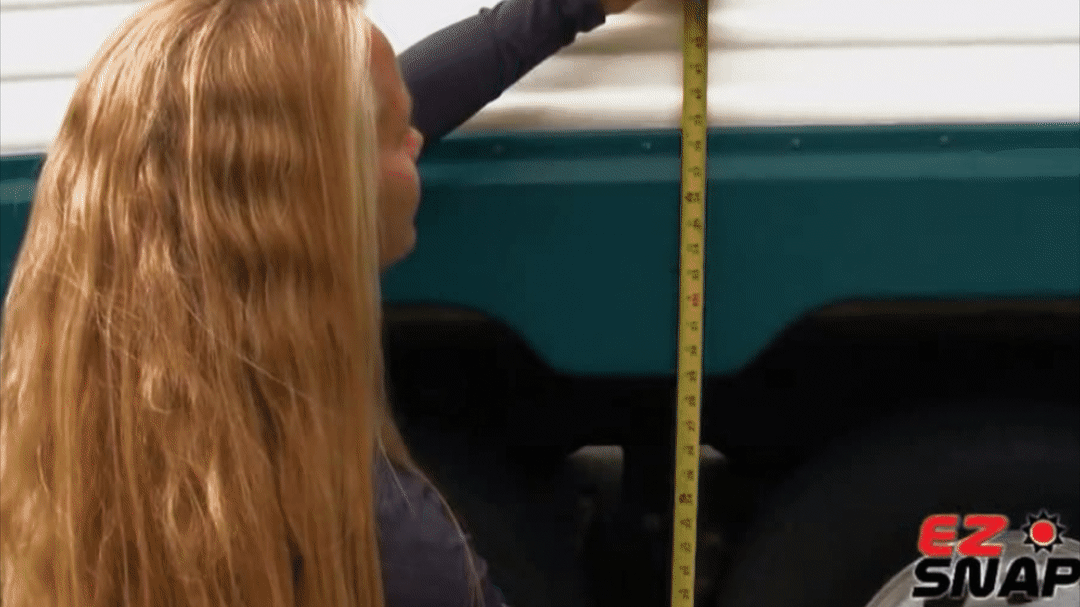
RV skirting kit sizing is based on your RV's dimensions and number of slide outs being covered.
Not sure which kit size you need? Use our Kit Builder to get your kit size recommendation. We'll help you get the best kit size for your project by walking you through the measurement process step by step.


Customize your skirting kit today.